

How to Sync Purchase Orders from Luminous to QuickBooks Online


- What This Integration Does
- How to Set Up PO Sync with QuickBooks
- Creating and Syncing a Purchase Order
- Verifying the Sync in QuickBooks
- Pro Tips
- What Doesn’t Sync (Yet)
- What’s Coming Next
- Common Questions
- Final Thoughts
For brands managing operations in Luminous and finances in QuickBooks Online, syncing purchase orders between both systems just makes sense. This eliminates redundant workflows and gives your accounting team real-time visibility into purchasing activity.
Here’s exactly how to turn on and use the PO Sync feature in Luminous.
What This Integration Does
With PO Sync enabled:
- Purchase orders created in Luminous are automatically pushed to QuickBooks
- Supplier and line item data transfers instantly—no copy/paste needed
- If a supplier doesn’t exist in QuickBooks, Luminous will create it automatically
This saves time, reduces errors, and keeps both systems aligned.
How to Set Up PO Sync with QuickBooks
Step 1: Confirm QuickBooks is Already Integrated
Before enabling PO sync, make sure your QuickBooks integration is already live.
You should have a QuickBooks channel added under Manage Channels in your Luminous settings.
Need help with that first step? Here’s the guide to set up the QuickBooks integration »
Step 2: Enable Purchase Order Sync
- Go to System Settings in Luminous
- Click into QuickBooks Settings
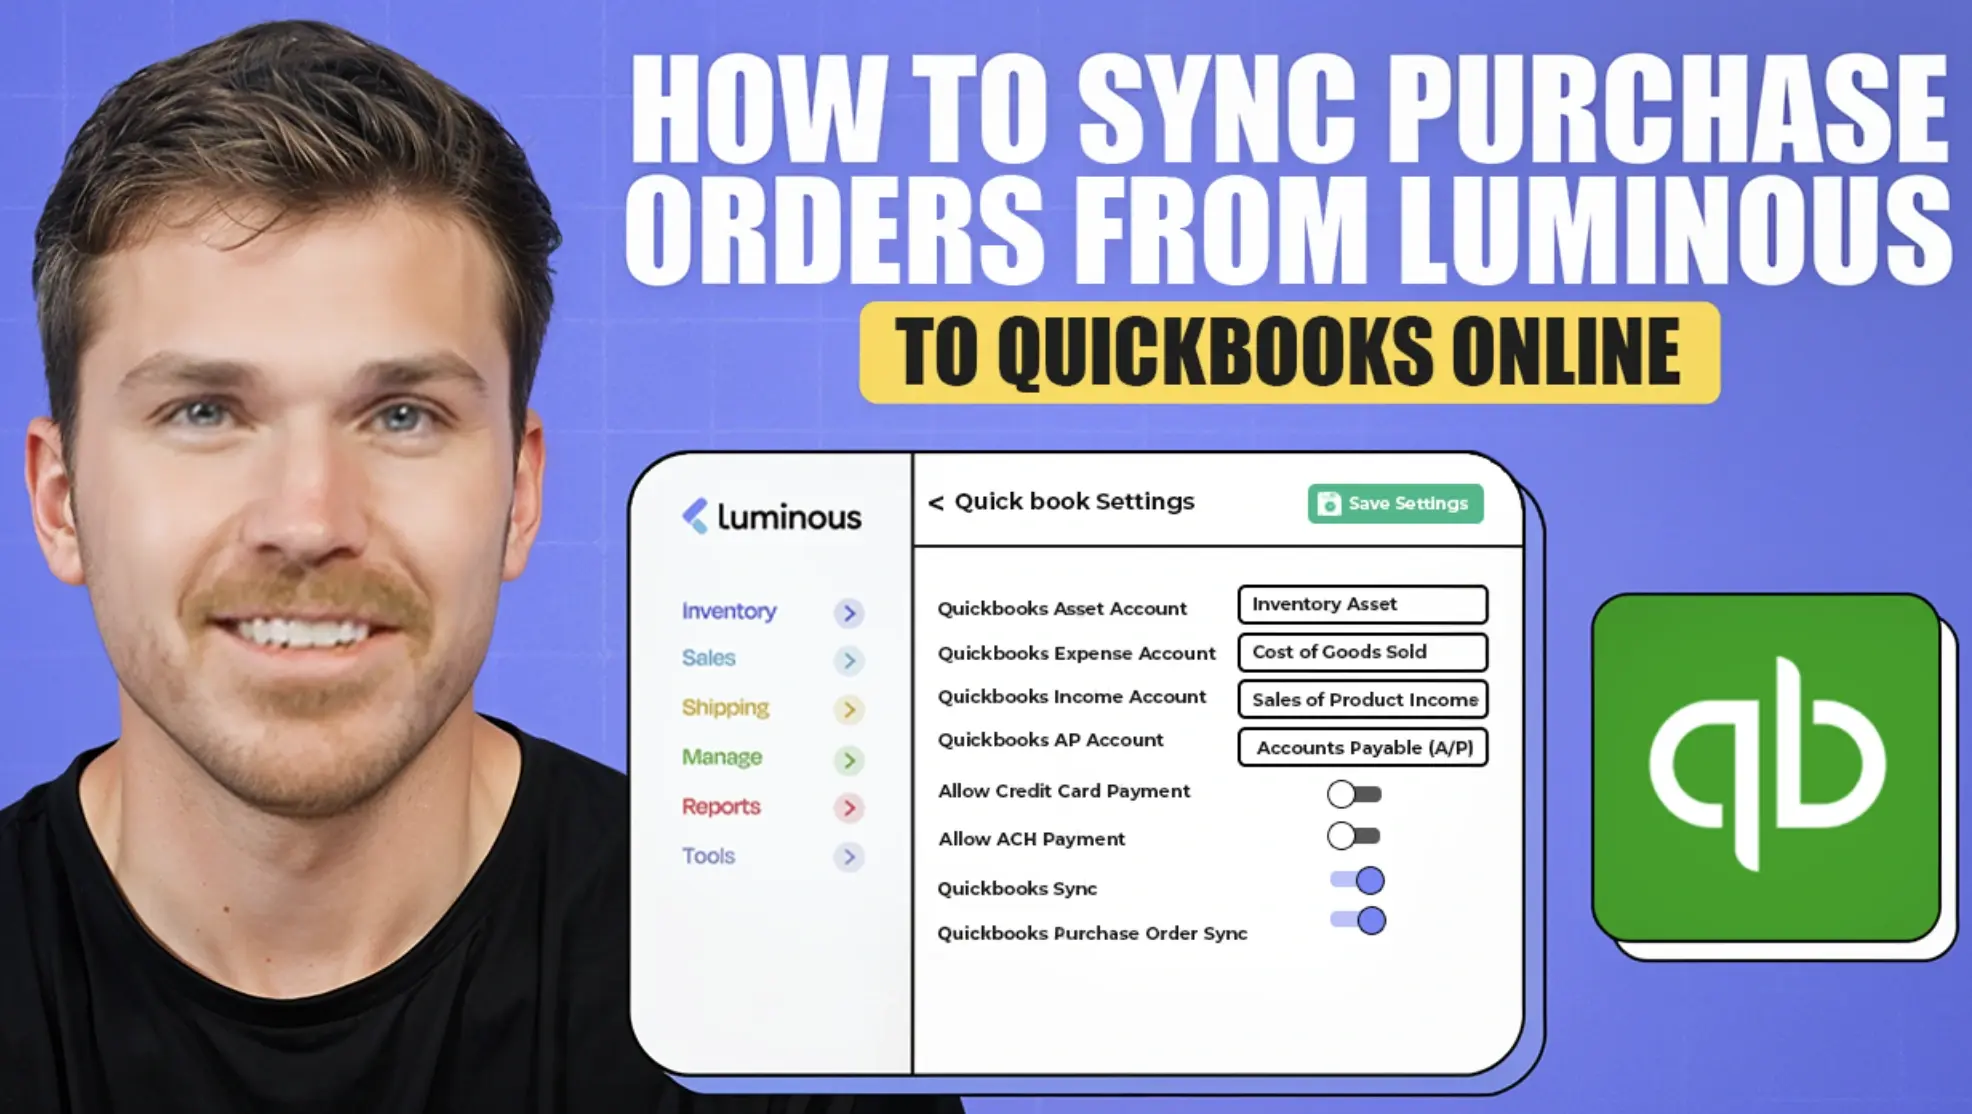
- Toggle on the setting for Purchase Order Sync
That’s it—the pipeline is live. Now any new POs created in Luminous will be pushed to QuickBooks automatically.
Creating and Syncing a Purchase Order
Let’s walk through a simple example:
Step 1: Build a PO in Luminous
- Choose a supplier (e.g. Nutricost)
- Add products and quantities
- Click Create PO
Step 2: Sync Runs Automatically
As soon as you create the PO, Luminous automatically:
- Checks if the supplier exists in QuickBooks
- If not, creates the supplier record
- Pushes the PO with all relevant line items, costs, and details
Heads-up: Right now, Luminous does not show sync status on the Purchase Orders page like it does for invoices, so check QuickBooks to confirm a PO came across.
Verifying the Sync in QuickBooks
- Log into your QuickBooks account
- Navigate to Expenses > Purchase Orders in the sidebar
- You’ll see the synced PO listed (e.g. for Nutricost)
- Click into the PO to view the full breakdown:
- Products
- Quantities
- Costs
- Total amount
Pro Tips
- Keep supplier data clean in Luminous—this ensures QuickBooks records stay accurate
- Use private notes in Luminous; they’ll sync over for added context
- After syncing, copy the PO to a bill in QuickBooks to streamline AP workflows
What Doesn’t Sync (Yet)
A few fields don’t transfer from Luminous to QuickBooks at this stage.
We’ll cover those in a separate article or video, but the critical info (supplier, items, cost, address, notes) does sync.
What’s Coming Next
A PO sync status, like the one on the invoice page, may be added in the future so you can see each PO's sync status without opening QuickBooks. Until then, use the steps above to confirm POs in QuickBooks.
Common Questions
Do I need QuickBooks connected first? Yes. Add QuickBooks as a channel and turn on QuickBooks Sync before turning on Purchase Order Sync. See How to Enable Purchase Order Sync to QuickBooks in Luminous.
What if the supplier isn't in QuickBooks yet? Luminous creates the supplier in QuickBooks automatically when the PO syncs.
Where do synced POs show up in QuickBooks? Under Expenses > Purchase Orders in the QuickBooks sidebar.
Final Thoughts
PO sync is one of those features that just removes friction. It eliminates double-entry, accelerates accounting, and helps your ops team stay focused on growth—not admin.
Ready to get your systems talking? Book a demo today.
Video transcript
Turn on Purchase Order Sync
I'm going to show you how the purchase order sync works between Luminous and QuickBooks today. First, we'll go into our Luminous instance and click on System Settings. Then we'll go over to QuickBooks Settings.
At this point, we should have already added QuickBooks as an integration, as a channel. If we want to turn on the purchase order sync, which pushes purchase orders from Luminous to QuickBooks, you toggle this on.
Why sync POs to QuickBooks
For most of our customers, the purchase order is going to originate in Luminous. If you'd like those POs to also live in QuickBooks, maybe so you can bill off of that PO in QuickBooks, or because you just like having the purchase order in both systems, this is exactly how that happens.
What pushes over
So let's create a purchase order. I'm going to create one for Nutricost. By the way, most of the core fields will push over: obviously the supplier, the order type and so on. If things don't exist, for example if the supplier doesn't exist, we'll automatically create it in QuickBooks. We make a lot of assumptions. I believe we also push over the private note, as well as the default shipping address.
There are a couple of fields we don't push over, which we can cover in a different video or article, but generally this is how it works. I'm just going to build a very basic PO. I'll add five products, hit Next, and create.
No sync status on POs yet
Unfortunately, at this point we don't have a sync status on the Purchase Orders page like we do on the invoice page. It's something we'll probably build out eventually.
Find the PO in QuickBooks
But let's go over to QuickBooks and refresh. Hold on a second. There we go. If you go to Expenses in the sidebar and then Purchase Orders, you'll see the PO. Here we go: we've got Nutricost right here.
If I click on it, you can see the purchase order. Here are the five products I pushed over, and the amount and cost are all updated.
Copy the PO to a bill
What some of our customers end up doing is copying this to a bill. It makes the process pretty simple. So this is how you can originate a purchase order in Luminous and push it over to QuickBooks.