

How to Set Up Purchase Order (PO) Export Templates in Luminous
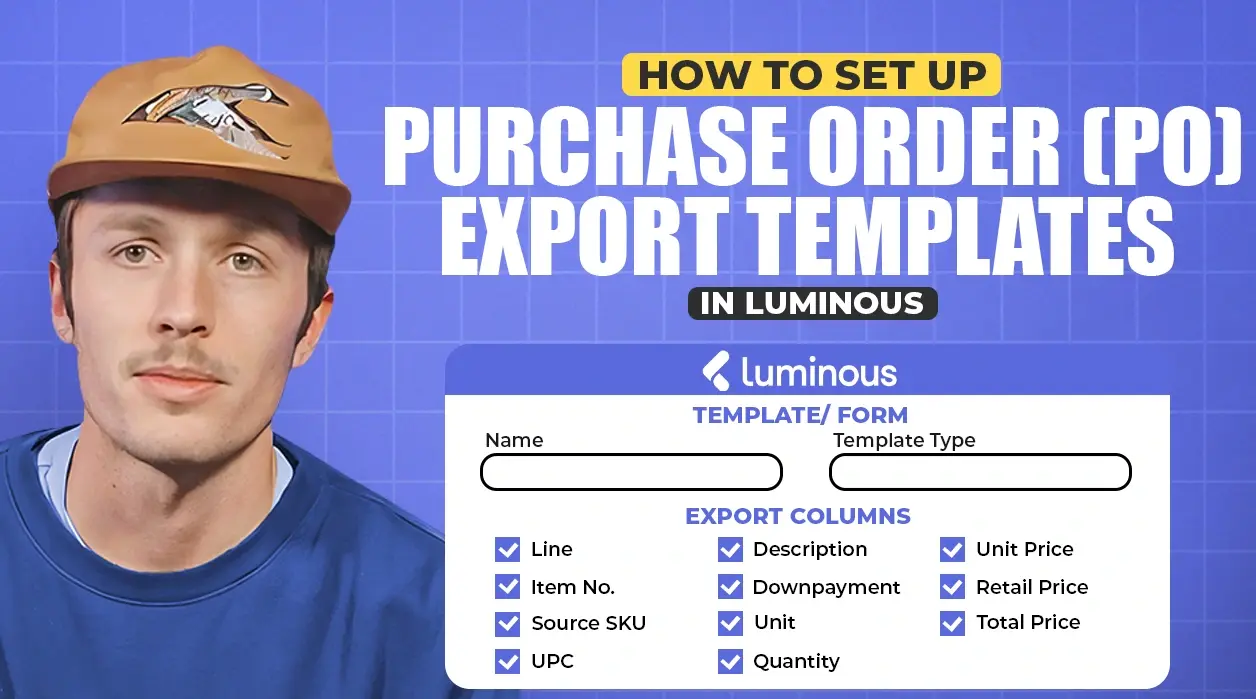


- Step 1. Access the Templates Section
- Step 2. Edit or Create a PO Template
- Step 3. Customize the Template
- Step 4. Use the Customized Template
- Key Benefits of PO Export Templates
- Key Takeaways
- Example: A Supplier That Labels Products for You
- Fields Suppliers Commonly Ask For
- Tips for Better PO Templates
- Common Questions
Take control of your purchase order exports by personalizing templates to fit your specific needs. Whether it's including essential fields like retail price or UPC to align with supplier demands, here's a step-by-step guide to creating and managing your PO export templates in the Luminous platform.
Step 1. Access the Templates Section
- In Luminous, go to the Manage tab.
- Select Templates from the menu.
- This is where you can customize templates for invoices, packing slips, and purchase orders (POs).
Step 2. Edit or Create a PO Template
- Locate an existing template with the Supplier Purchase Order type, or create a new one.
- Click Edit to modify the template.
Step 3. Customize the Template
- Choose the fields you want to include on the PO export:
- Example: Add fields like UPC or Retail Price if needed.
- If this template should be the default for all PO exports, select the Default Template option.
- Once all fields are added and configured, click Submit to save the changes.
Step 4. Use the Customized Template
- Go to the Purchase Orders section in Luminous.
- Select a PO you want to export.
- Choose to Export to PDF.
- The exported PDF will now include the fields specified in the template, such as UPC or retail price.
Key Benefits of PO Export Templates
- Flexibility: Tailor POs to meet supplier-specific requirements.
- Efficiency: Save time by setting default templates for frequently used configurations.
- Clarity: Ensure that all necessary details (like UPCs or retail prices) are included on the PO.
Key Takeaways
- PO export templates live under Manage > Templates, alongside invoice and packing slip templates.
- Look for the template with the Supplier Purchase Order type and click Edit.
- The most common additions are UPC and retail price.
- Mark the template as the default so every PO you export to PDF uses it.
- The changes show up the next time you export a PO to PDF from the Purchase Orders page.
Example: A Supplier That Labels Products for You
Say your apparel supplier attaches barcode labels and price tags before goods ship, so items arrive ready to sell. To do that, they need the UPC and retail price for every SKU on your PO.
Without those fields on the PO, someone on your team sends a separate spreadsheet with every order, and it's easy for the two to get out of sync. With a PO export template that includes UPC and retail price, every PO you export already has what the supplier needs. Fewer emails, fewer labeling mistakes, and inventory that's ready to receive and ship as soon as it arrives.
Fields Suppliers Commonly Ask For
Every supplier has its own requirements, but these are the details that most often need to appear on a PO:
- UPC or barcode numbers, so the supplier can label products correctly before they ship.
- Retail price, often needed for pre-ticketing or price-tagging items.
- Supplier SKU or part number, so the supplier can match your order to their catalog.
- Expected ship or arrival dates, so both sides agree on timing.
- Special instructions, such as packaging, labeling or routing requirements.
Tips for Better PO Templates
- Ask suppliers what they need. A quick check before you set up the template avoids POs being sent back.
- Keep it readable. Only include the fields your supplier actually uses; extra columns make POs harder to scan.
- Test before you send. Export a sample PO to PDF and review it before sending it to a supplier.
- Revisit when requirements change. If a supplier adds a labeling rule or a new field, update the template once and every future PO reflects it.
Common Questions
Where do I find PO templates? Under Manage > Templates. That's also where invoice and packing slip templates are customized.
How do I make sure my exports use the new template? Set it as the default template, then submit. The next PO you export to PDF will use it.
How do I send the PO once it's exported? See How to Send a Purchase Order (PO) to Your Supplier in Luminous. For other templates, see How to Customize Packing Slips in Luminous.
By using export templates, you can streamline the purchasing process and improve communication with suppliers by providing all required details in the desired format.
Video transcript
The Templates page
Hey there. This is going to be a quick tutorial on how to set up PO export templates. In Luminous, underneath Manage, there's a tab that says Templates. This is where you can customize a template for invoices, packing slips or POs, like we're talking about here. As you can see, I have an existing template here with the Supplier Purchase Order type.
Add fields to the PO export
I'm going to edit this template. What this allows you to do is choose different fields to appear when you export a PO. You may want to include retail price or UPC; those are some of the most common requests. So from here, you can say, I want to include the UPC, and I want to include the retail price on my PO.
Set it as the default and export
I can make this the default template and hit Submit. Then, the next time I go to Purchase Orders and export a purchase order to PDF, those fields will show on the export.
This gives you a little more flexibility if a certain supplier requires the UPC on the PO, or some other field on the PDF we send them. And that's about it. Thanks, guys.