

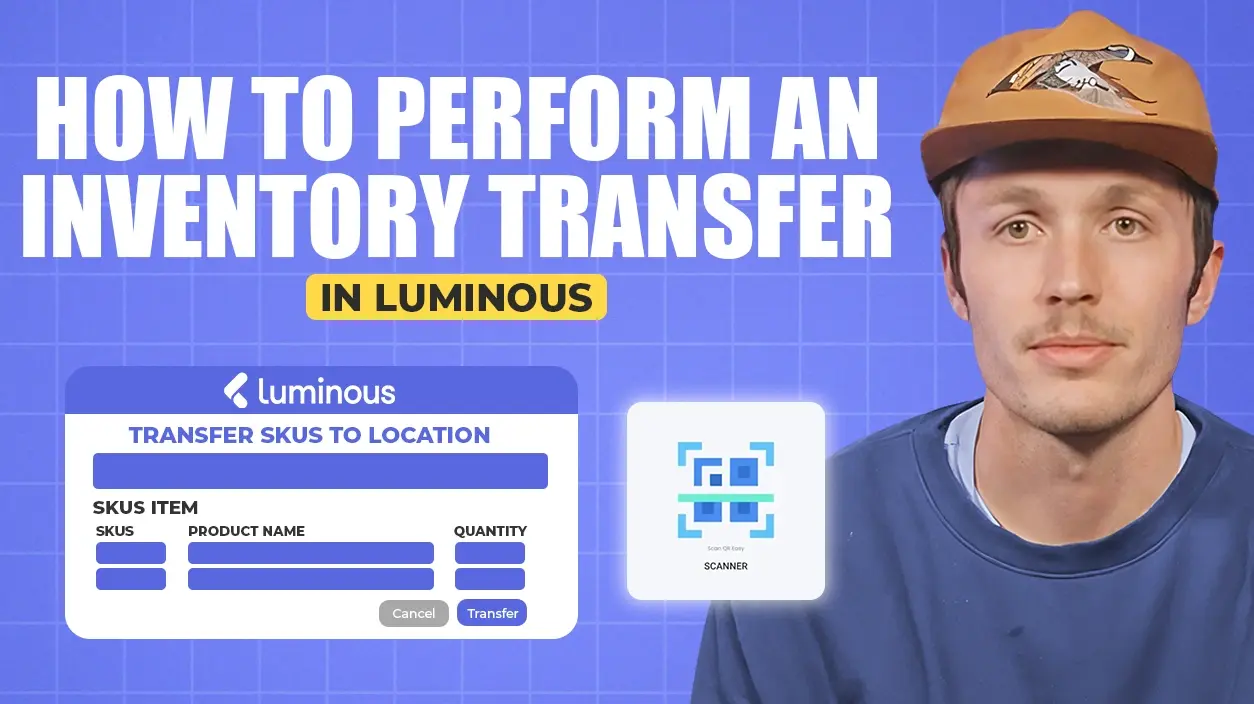
How to Perform an Inventory Transfer in Luminous


- Method 1: Transfer Inventory Using the Web Interface
- Method 2: Transfer Inventory Using the Warehouse Mobile App
- Additional Features of the Mobile App
- Key Takeaways
- Inventory Transfer vs. Transfer Order
- Common Questions
Transferring inventory between locations in Luminous can be done in two ways: through the web interface or using the Warehouse Mobile App. This guide will walk you through both methods step by step.
Method 1: Transfer Inventory Using the Web Interface
Step 1. Access Locations
- Navigate to the Manage tab.
- Click Locations to view all locations within your warehouse.
- Select the warehouse you're working in (e.g., "Main Warehouse").
Step 2. Select the Location to Transfer From
- Choose the location where the inventory is currently stored (e.g., "Holding").
- Review the items and associated lot numbers (if tracked).
Step 3. Select Items to Transfer
- Bulk-select the items you wish to transfer (e.g., "Black Pant" and "White T-Shirt").
- Click Transfer SKUs.
Step 4. Choose the Destination Location
- Select the destination location within the same or a different warehouse (e.g., "Location A1 in Main Warehouse").
- Specify the quantities to be moved (e.g., 20 units of each item).
Step 5. Complete the Transfer
- Click Transfer to finalize the process.
- Confirm the updated inventory in the destination location:
- Check the Other Bins column to verify the transferred quantities.
- Review the Quantity Log to see the historical transactions for the location.
Method 2: Transfer Inventory Using the Warehouse Mobile App
The Warehouse Mobile App, found under Tools, allows for barcode-based inventory transfers, providing a faster and more efficient process.
Step 1. Set Up Barcodes
- Assign and print location barcodes for each storage location (e.g., "A1" and "A2").
Step 2: Scan the Current Location
- Open the Warehouse Mobile App.
- Scan the barcode for the current location (e.g., "A1").
- View all products stored in that location.
Step 3: Select Items to Transfer
- Select the item(s) you want to move and specify the quantity.
Step 4: Scan the Destination Location
- Scan the barcode for the destination location (e.g., "A2").
Step 5: Complete the Transfer
- Confirm the transfer, which updates the inventory in real-time.
Additional Features of the Mobile App
- Inventory Count: Scan a location to update counts or add new SKUs.
- Quick and Accurate Transfers: Ideal for warehouses with mobile devices or scanners.
Key Takeaways
- Inventory transfers are instant: they move stock from one location to another with no lead time.
- On the web, go to Manage > Locations, open the source location, bulk select SKUs and click Transfer SKUs.
- You can move stock to another location in the same warehouse or in a different warehouse.
- Every location has a Quantity Log showing who moved what, and when.
- With the Warehouse Mobile App, you scan the source location barcode, pick the items and quantities, then scan the destination barcode.
Inventory Transfer vs. Transfer Order
Use an inventory transfer when stock moves right away, like from a holding area to a pick bin, or between shelves. The inventory updates as soon as you click Transfer.
Use a transfer order when there's lead time between shipping from one warehouse and arriving at another, like sending stock from your main warehouse to a 3PL. A transfer order tracks the inventory while it's in transit, with a sales order on the source side and a PO on the destination side. See How to Create Transfer Orders in Luminous.
Common Questions
Can I see a history of transfers? Yes. Each location has a Quantity Log that lists its historical transactions, including stock transfers, quantities and the user who made them.
Do I need the mobile app? No. You can do every transfer from the Locations page. The app is helpful if your team has a tablet, mobile device or scanner on the warehouse floor.
What if my counts are off, not just in the wrong spot? Use an adjustment entry to add or deduct inventory. See How to Create Manual Adjustment Entries in Luminous.
By following either method, you can efficiently transfer inventory across locations, ensuring accurate and up-to-date inventory management in Luminous.
Video transcript
Two ways to transfer inventory
Hey there, this is going to be a quick tutorial about how to do an inventory transfer from one location to another. We're going to discuss two different ways to accomplish this.
Method 1: The Locations page
For the first way, go down to Manage and click Locations. You can see all of your different locations within each warehouse. I'm toggled to Warehouse Main, and I want to do a transfer from this Holding location.
I'll click into Holding, and I can see all the units stored here, along with their associated lot numbers, if those are being tracked. I want to transfer this black pant and this white t-shirt, so I'll bulk select both products and click Transfer SKUs.
Choose the destination and quantities
Now I choose where I'm moving this inventory. I'm moving it to location A1 within the main warehouse. Something to point out: you can also move to a location in a different warehouse.
This is most helpful when there isn't really any lead time moving from one spot to another, so it's good for instant, quick inventory transfers. Now I can specify the quantities I want to move. Maybe I only want to move 20 of each. Then I click Transfer.
Check the Other Bins column and Quantity Log
As you can see in the Other Bins column, that inventory has been logged: we're showing 20 of each in location A1.
Something else to note from this view: each location has a Quantity Log where you can see all the historical transactions for that location. Here we can see this user did a stock transfer of 20 units for both the white t-shirt and the black pant into location A1.
Method 2: The Warehouse Mobile App
The other way to do this is with our Warehouse Mobile App, found underneath Tools. It works nicely on a mobile device or a tablet.
This is where you can apply location barcodes to all the different locations in your warehouse. So you might have location A1 printed out as a barcode. As a user, you scan that barcode, and it brings up all the units stored at that location. You choose the product you're moving and how much, then scan the destination barcode, say A2. That's where the inventory will be moved.
We encourage this if you have a tablet, a mobile device or some sort of scanner handy. It's really helpful for doing inventory transfers quickly.
Inventory counts in the app
The same applies if you're doing an inventory count with the app. You can scan a location and update counts, or add new counts for new SKUs, using that interface as well. Thanks.