Luminous Product
How to Use the Sales Order Grid in Luminous


.svg)
In this article:
- Step 1. Access the Sales Order Grid
- Step 2. Filtering and Saving Views
- Step 3. Grouping Orders
- Step 4. Performing Bulk Actions
- Step 5. Customizing the Grid View
- Step 6. Sidebar Actions
- Step 7. Managing Individual Orders
- Step 8. Exporting Data
- Step 9. Bulk Selection Shortcuts
- Step 10: Key Benefits of the Sales Order Grid
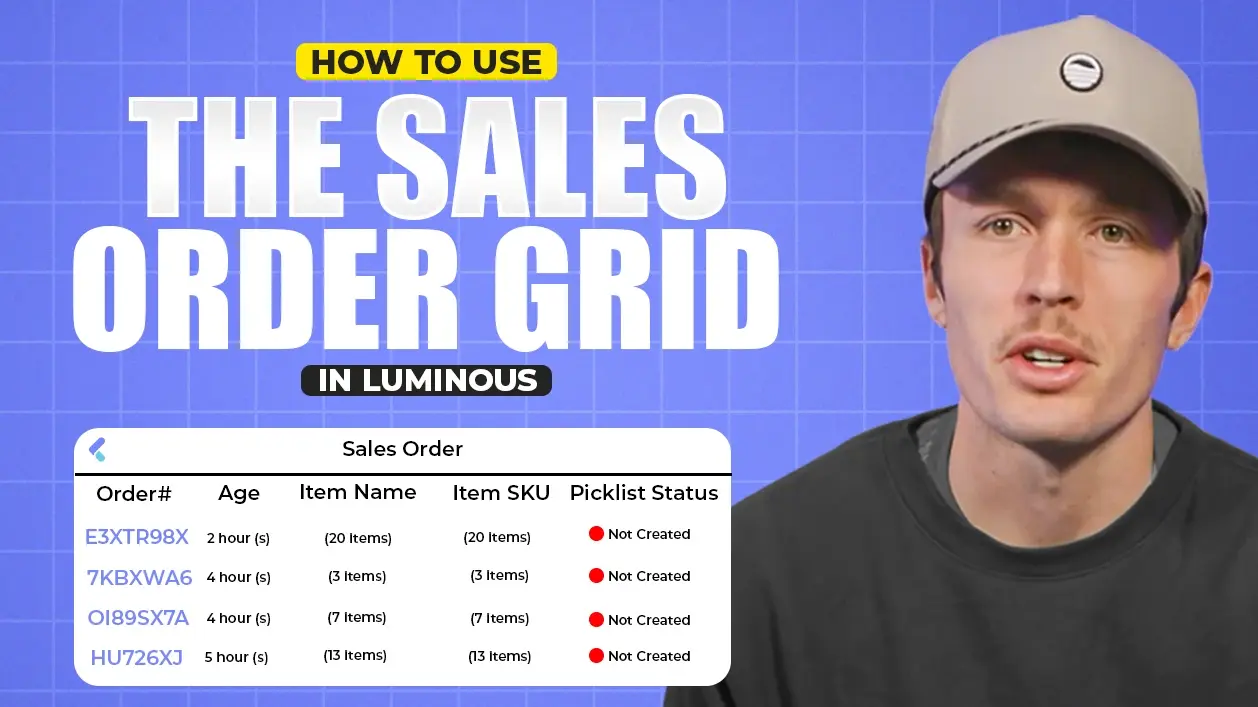
The Sales Order Grid in Luminous is a powerful tool for managing and tracking all your sales orders. It provides visibility into order statuses, enables custom views, and offers bulk action capabilities. Here's how you can make the most of it.
Step 1. Access the Sales Order Grid
- Navigate to Shipping > Sales Order Grid.
- View all orders—pending, shipped, or other statuses—displayed in the grid.
Step 2. Filtering and Saving Views
- Apply Filters:
- Use the filters on each column to narrow down results by criteria like order status, channel, or tags.
- Examples of filters:
- Show all shipped orders from a specific channel.
- Display pending orders with a specific tag.
- Save Filters:
- After setting up filters, save the view by giving it a name.
- You can revisit this saved view anytime for quick access.
Step 3. Grouping Orders
- Click the Actions button in the top right.
- Group orders by characteristics such as channel name or item name.
- This organizes the grid into grouped sections for easier navigation.
Step 4. Performing Bulk Actions
- Select multiple orders using the checkboxes or Shift + Click to select a range.
- Open the Actions menu to perform bulk tasks, including:
- Create Picklists: Generate picklists for selected orders.
- Update Tags: Apply or edit tags for multiple orders.
- Update Order Status: Mark orders as shipped or update other statuses.
- Export Packing Slips: Download packing slips for selected orders.
- Pull Order Updates: Trigger a manual update for selected orders.
- Unallocate Orders: Remove inventory allocation from selected orders.
- Delete Orders: Permanently remove orders from the grid.
Step 5. Customizing the Grid View
- Adjust Columns:
- Add, remove, or rearrange columns based on your preferences.
- Drag and drop columns to rearrange them for optimal visibility.
- Sort Orders:
- Click on a column header to sort orders by ascending or descending values.
- Example: Sort by order age to see the oldest or newest orders first.
Step 6. Sidebar Actions
- Open the Sidebar for quick actions like:
- Previewing picklists.
- Exporting packing slips.
- Updating tags for selected orders.
- Hide or display the sidebar as needed.
Step 7. Managing Individual Orders
- Click the Three Dots next to an order to access specific actions, such as:
- Push Fulfillment: Send the order to an OMS or WMS.
- Update Tags: Modify tags associated with the order.
- Hold Order: Place the order on hold.
- Double-click any field in an order row to:
- Add notes.
- Edit tags.
- Update order details.
Step 8. Exporting Data
- Right-click anywhere in the grid.
- Select an export option:
- Export to Excel.
- Export to CSV.
Step 9. Bulk Selection Shortcuts
- Use Shift + Click to select multiple orders for bulk actions like creating picklists or exporting packing slips.
Step 10: Key Benefits of the Sales Order Grid
- Bird’s Eye View: Monitor the status of all orders at a glance.
- Customizable Views: Tailor the grid to suit your team’s workflow.
- Streamlined Fulfillment: Manage orders, create picklists, and export packing slips efficiently.
By mastering the Sales Order Grid, you can optimize your order management process and ensure smooth fulfillment operations.

