

How to Set Up Purchase Order Approval Flows in Luminous
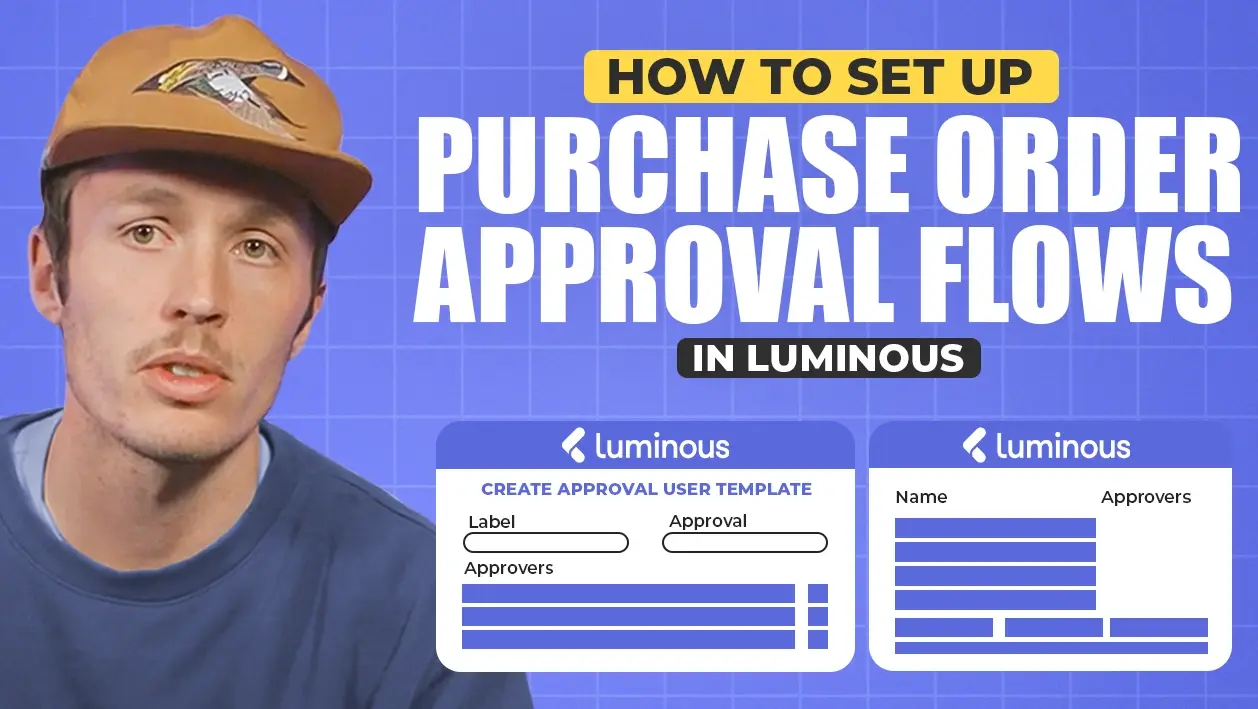


- Step 1. Access System Settings
- Step 2. Create an Approval User Template
- Step 3. Create an Approval Rule
- Step 4. How Approval Flows Work
- Step 5. Monitor Approval Status
- Key Benefits of Approval Flows
- Key Takeaways
- Example Approval Rules
- Common Questions
Establish approval flows for purchase orders (POs) to meet criteria like total cost or specific conditions, ensuring that high-value POs or certain transactions get the necessary authorizations before proceeding. Here’s Luminous' step-by-step guide to setting up these approval flows.
Step 1. Access System Settings
- Go to the bottom left corner of Luminous.
- Click your name and select System Settings.
Step 2. Create an Approval User Template
- Within System Settings, click Approval User Template Settings.
- Click Create New Template.
- Name the template (e.g., "High-Value PO Approvals").
- Select the users who need to approve the action:
- Example: Add Jared and Lucas as approvers.
- Click Save to finalize the template.
Step 3. Create an Approval Rule
- Return to System Settings and click Approval Rule Settings.
- Click Create Approval Rule.
- Configure the approval rule:
- Name: Provide a clear name (e.g., "PO Over 20k").
- Model: Select Purchase Order.
- Template: Choose the approval template you just created.
- Operator: Choose how the rule's conditions are combined (e.g., "or").
- Condition: Set the criteria for the rule, such as:
- Total Cost: Greater than $20,000.
- Click Save to activate the rule
Step 4. How Approval Flows Work
Once the rule is active:
- Any PO meeting the specified criteria (e.g., over $20,000) will trigger the approval flow.
- Emails will be sent to the designated approvers (e.g., Jared and Lucas).
- Approvers can review the PO and click Approve Order directly from the email.
Step 5. Monitor Approval Status
- Go to the Purchase Orders page in Luminous.
- Look for the Approval Status column:
- Pending Approval: Indicates the PO is awaiting approval.
- Approved: Indicates the PO has been approved.
Key Benefits of Approval Flows
- Ensures high-value or critical POs are reviewed before being sent to suppliers.
- Streamlines the approval process with email notifications and clear status updates.
- Improves oversight and accountability in purchasing workflows.
Key Takeaways
- Approval flows have two parts: an approval user template (who approves) and an approval rule (when approval is needed).
- Both are set up in System Settings.
- If a template has more than one approver, all of them need to approve.
- Rules use conditions like Total Cost greater than $20,000 to decide which POs need approval.
- Approvers get an email with an Approve Order button, and the PO's Approval Status updates from Pending to Approved.
Example Approval Rules
Every team sets thresholds differently, but here are a few common setups:
- High-value POs: POs with a total cost over a set amount, such as $20,000, go to the founder and the head of operations.
- Tiered approvals: a lower threshold goes to a purchasing manager, while a higher threshold goes to finance as well, using separate templates and rules.
- New buyers: while someone is learning your purchasing process, approval rules give a senior team member a chance to review their POs before they go to suppliers.
Start with one simple rule, see how it fits your workflow, and add more as your purchasing grows.
Common Questions
Do all approvers need to approve? In the video's example, both Jared and Lucas are on the template, and both need to approve the PO.
How do approvers know a PO needs their approval? They get an email for each PO that matches the rule, with an Approve Order button.
Where can I see which POs are still waiting? On the Purchase Orders page, check the Approval Status column for POs marked Pending.
Related videos: How to Manage Staff and Users in Luminous and How to Send a Purchase Order (PO) to Your Supplier in Luminous.
By setting up approval flows, you can maintain control over significant purchases and ensure compliance with company policies.
Video transcript
Open System Settings
Hey guys, this is going to be a quick tutorial about purchase order approval flows. To begin setting up an approval flow on a PO in Luminous, go down to the bottom left, click your name and click System Settings.
Create an approval user template
The first thing we'll click here is Approval User Template Settings. You can see we have some existing approval user templates. We're going to create a new one and just call it Test Approval Template.
This is where I choose which users need to approve a certain action. I'll choose Jared, and I can also choose another approver, Lucas for example, meaning both Jared and Lucas will need to approve this action. Then I'll click Save.
Create an approval rule
Next, I'll go back to System Settings and click Approval Rule Settings. This finishes up the approval rule for a PO. Click Create Approval Rule and give it a name. I'll call this one PO Over 20k, meaning any PO placed over $20,000 needs Lucas and Jared to approve it.
For this one, the model will be Purchase Order, and the template will be the one we just created. For the operator, you can see there are different conditions; we'll just say OR for now. Then we'll say Total Cost is greater than $20,000, and save that.
What happens when a PO matches
Now, on the next POs that are written over $20,000 total, Jared and Lucas will both receive emails where they can click Approve Order, and the PO's status will be updated to Approved.
Track approval status
If I click into Purchase Orders, you'll see there's an Approval Status column. When the email is sent, it will show Pending. Once it's approved, it will update to show that it's been approved.
This is a great option if you have someone doing purchasing who needs approval based on certain criteria. You can set up these approval flows to make sure the right POs get sent out to your suppliers. Thanks, guys.